Branch master in Jaldi Superstore POS
Branch master is the master screen where user can create and manage the branch contact details, address details other required third party integration details, SMS broadcast details and etc. We can create and manage multiple branches using this branch menu.
How to upload the basic and integration details for branch ?
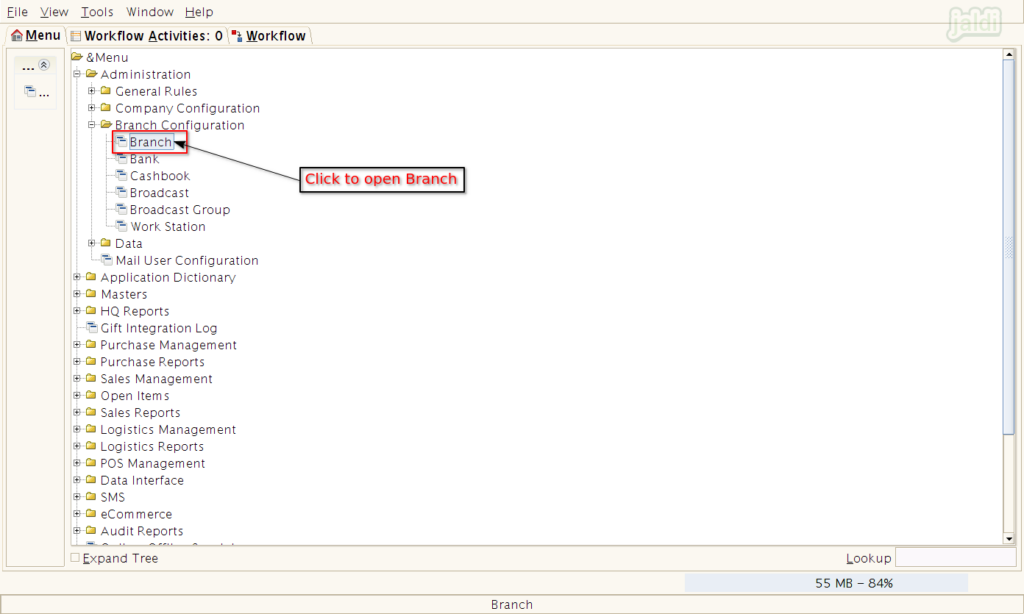
Go to application path, Administration > Branch Configuration > Branch. Click on branch menu to open.
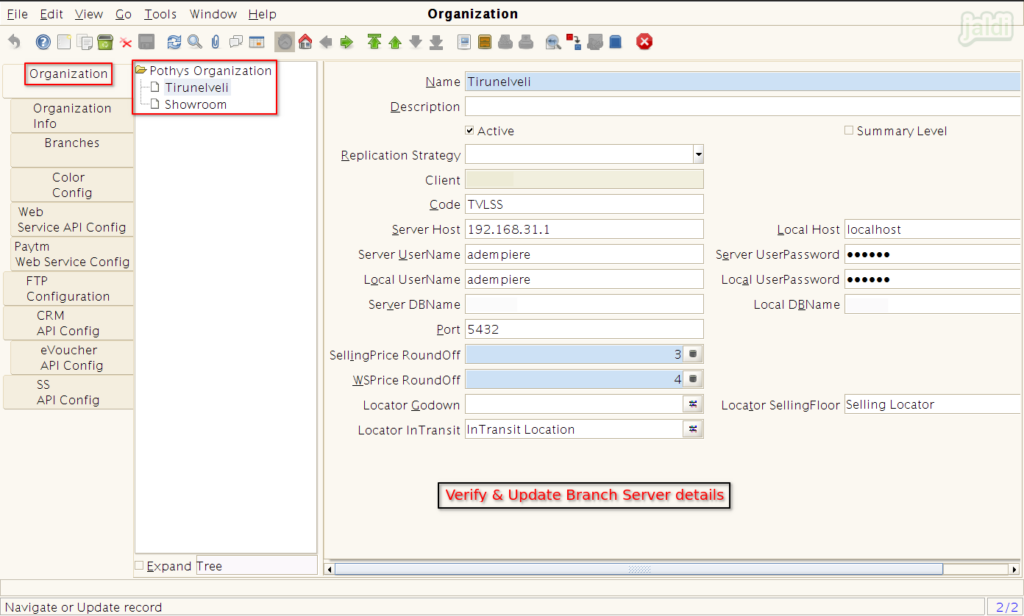
Under organisation, you can find the current implementing branch name of an organisation by default.
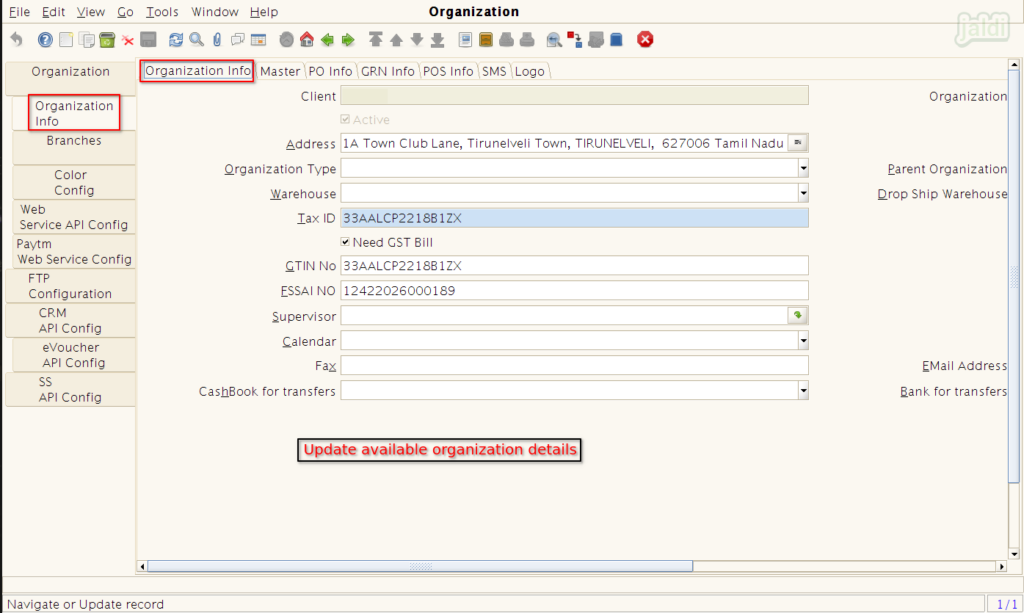
Now go to “Organisation Info” tab and enter the following details,
- Address – Enter full address
- Warehouse
- Need GST Bill
- CIN
- GSTIN No
- Fax No
- Email Address
- Also we can enter other available details if needed.
Once the required details were filled, then save the current tab screen.
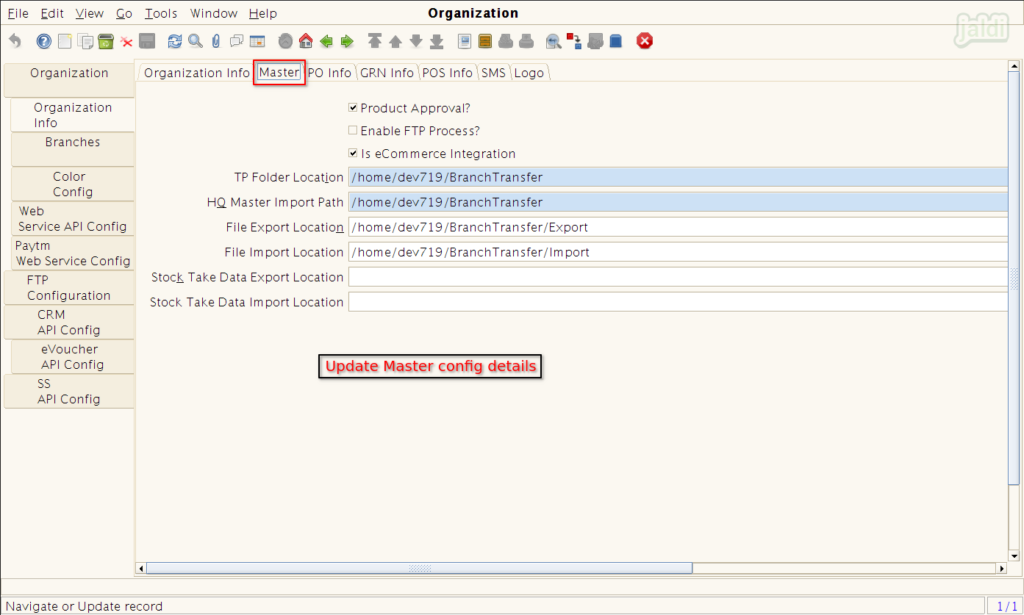
Now move to Master tab screen and enter the following details and save,
- TP Folder Location – Create Folder name in the name of drop box after installing the drop box and copy and paste the drop box folder location.
- HQ Master Import Path – Create folder name and copy and paste the path here.
- Other details are will be selected or deselected based the request.
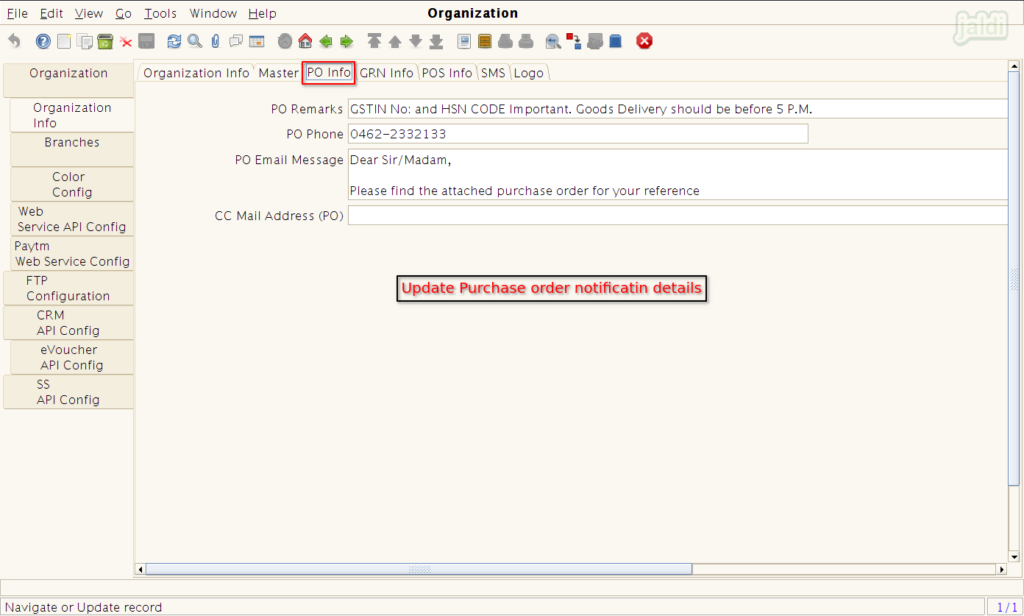
Now go to PO Info tab screen and enter the following details and save.
- PO Remarks
- PO Phone
- PO Email Message
- CC Mail Address (PO)
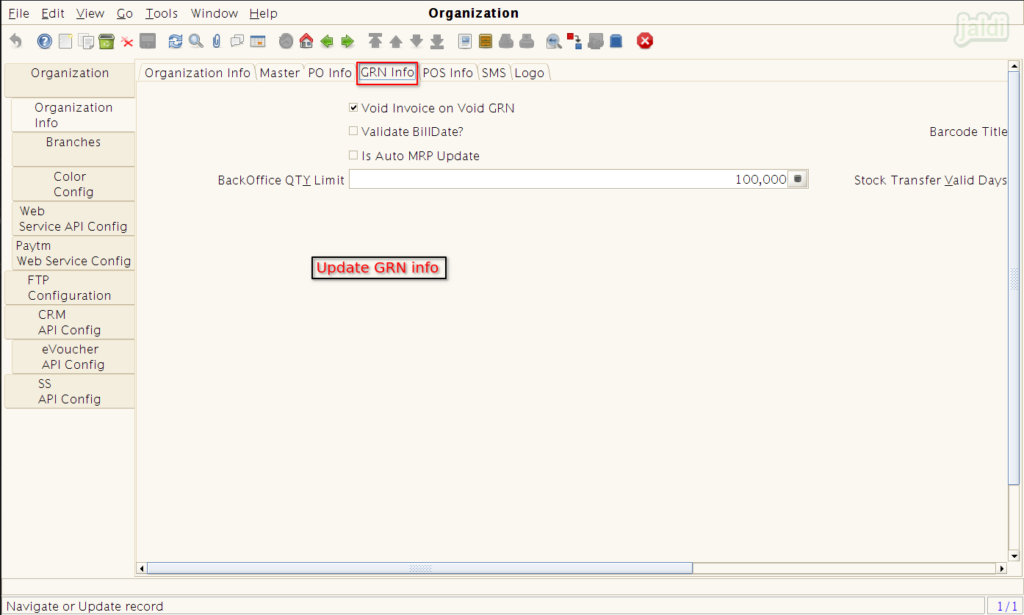
Then move to GRN info screen and enter the required details and save the current tab.
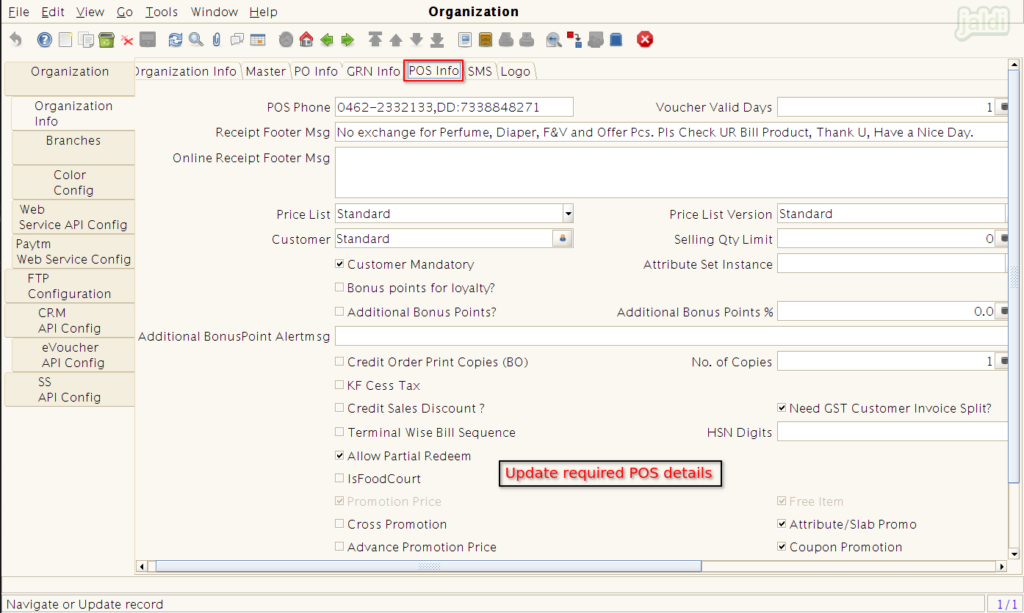
Now move to POS info tab and enter the following details,
- POS phone – This mobile number will be printed in sales bill print.
- Voucher valid days
- Receipt footer message
- Online receipt footer message
- Enter other required details and select and deselect the check box input field based on the requirements.
Once the required details were filled in the POS info tab then click on save option to save the data.
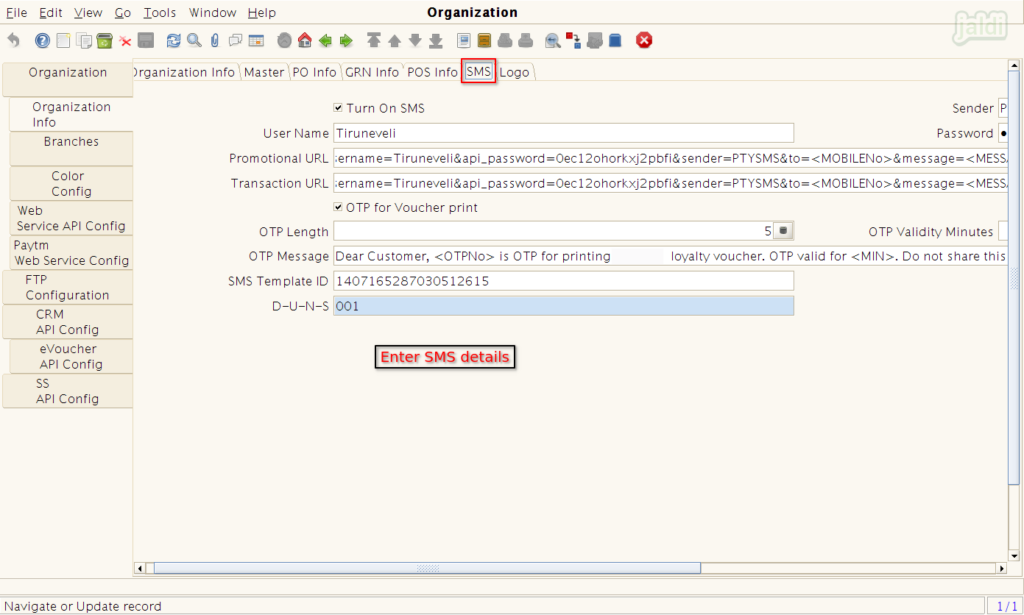
Then go to “SMS” tab screen and enter following details and save the tab,
- Turn on SMS – Enable the check box
- User name
- Promotional URL (SMS template content)
- Transaction URL (SMS template content)
- OTP length
- OTP validity minutes
- OTP message
- SMS template ID
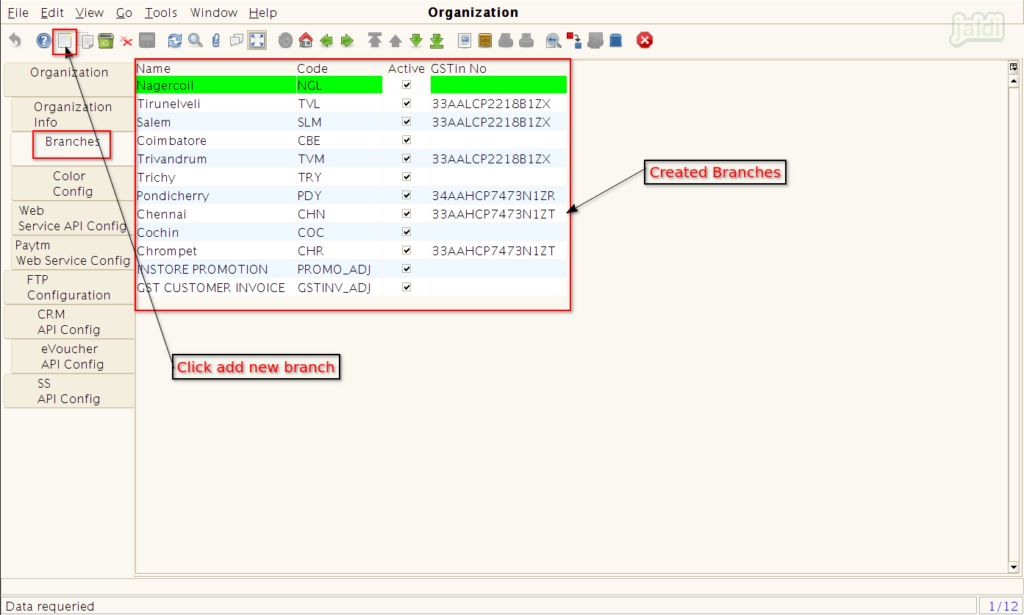
To create a available branches, go to branch tab and click to “New” function key to create a required branch.
Enter the following details to save the branch.
- Branch name
- Branch code
- GSTIN number
The created branch will be selected during the inter branch transfer process. Note : The branch details should be maintained same in all other branches.
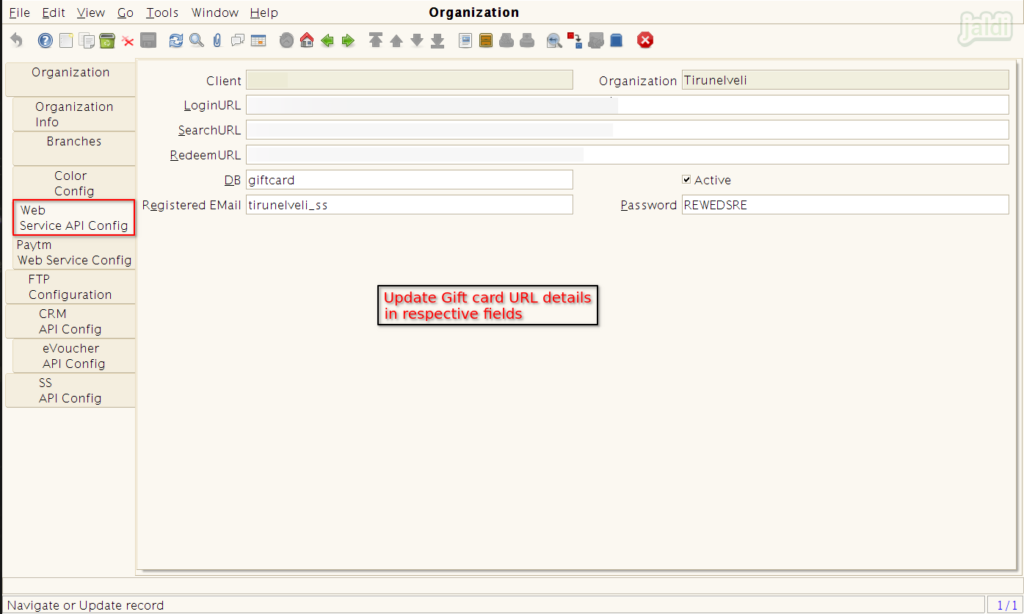
Then move to “Web service API config” tab and enter the following details which is shared by customer. and save.
- Login URL – Gift card login URL
- Search URL – Gift card search URL
- Redeem URL – Gift card redeem URL
- DB – enter “giftcard”
- Registration email & password
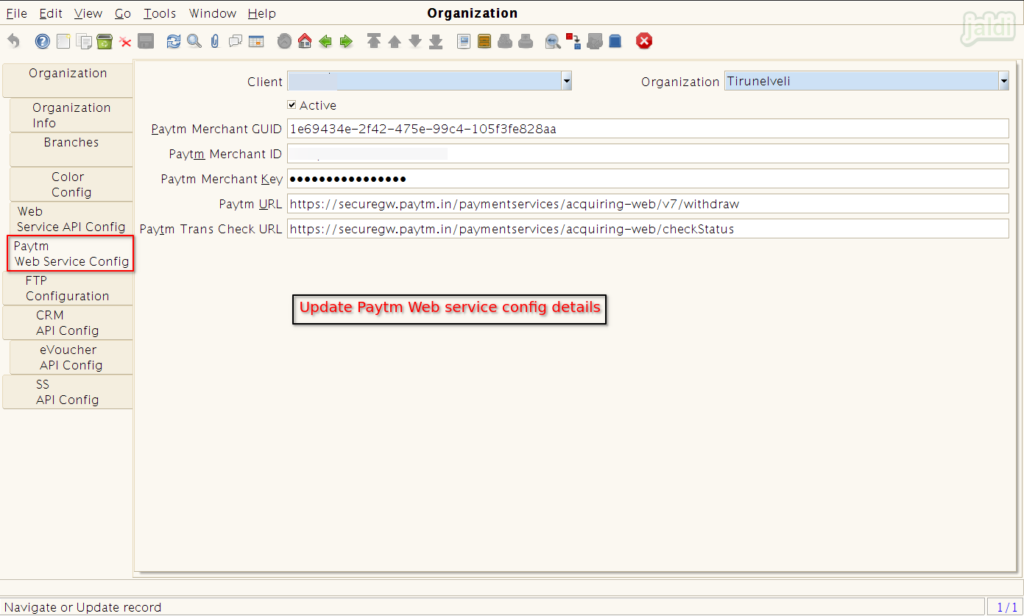
In “PayTm web service config” tab screen, enter paytm login credentials which is shared by customer.
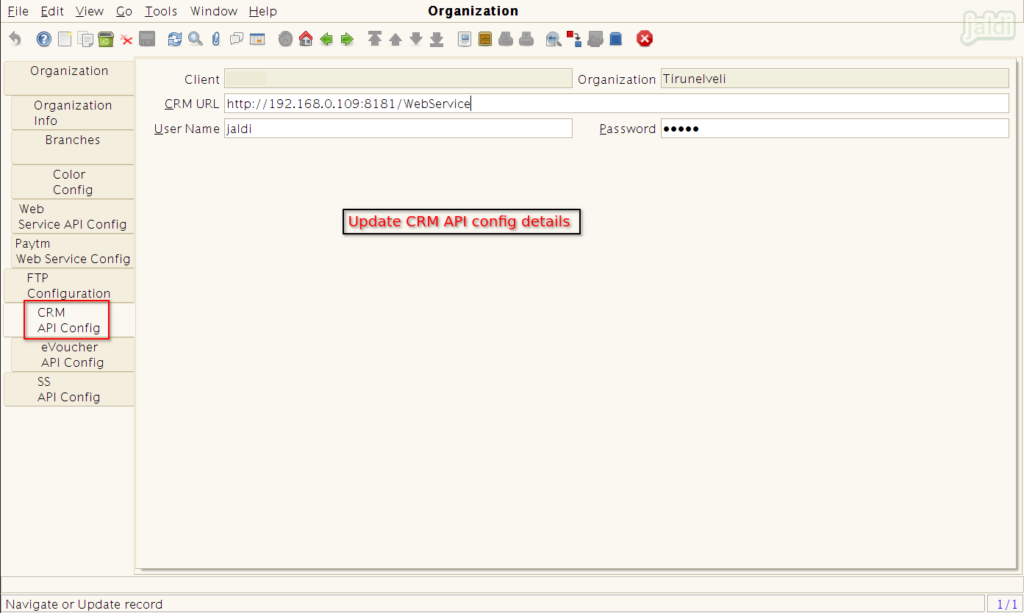
In CRM API config screen, enter the following data and save the screen.
- CRM URL
- User Name
- Password
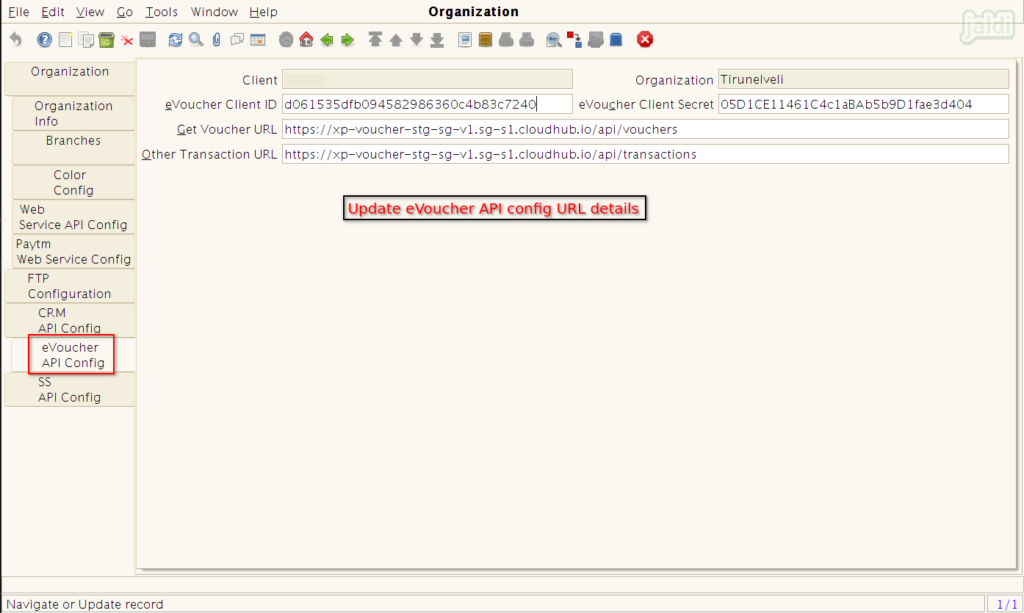
In eVoucher API config tab, enter the eVoucher login details which is shared by customer.
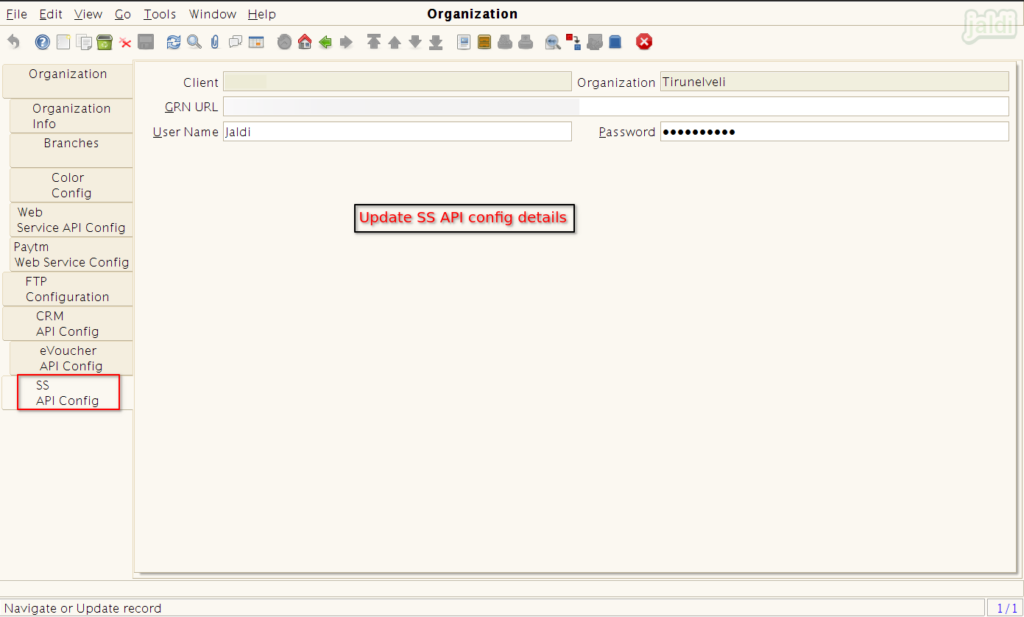
Then move to SS API config screen, Update the third party accounts server details and save the data,
- GRN URL
- Username
- Password
