POS Terminal in Jaldi Superstore POS
It’s a master where user could update inputs reagards a POS counters for billing purpose. Without creating the POS terminal for the new POS system, we cannot open POS screen to do sales billing.
POS-terminal creation
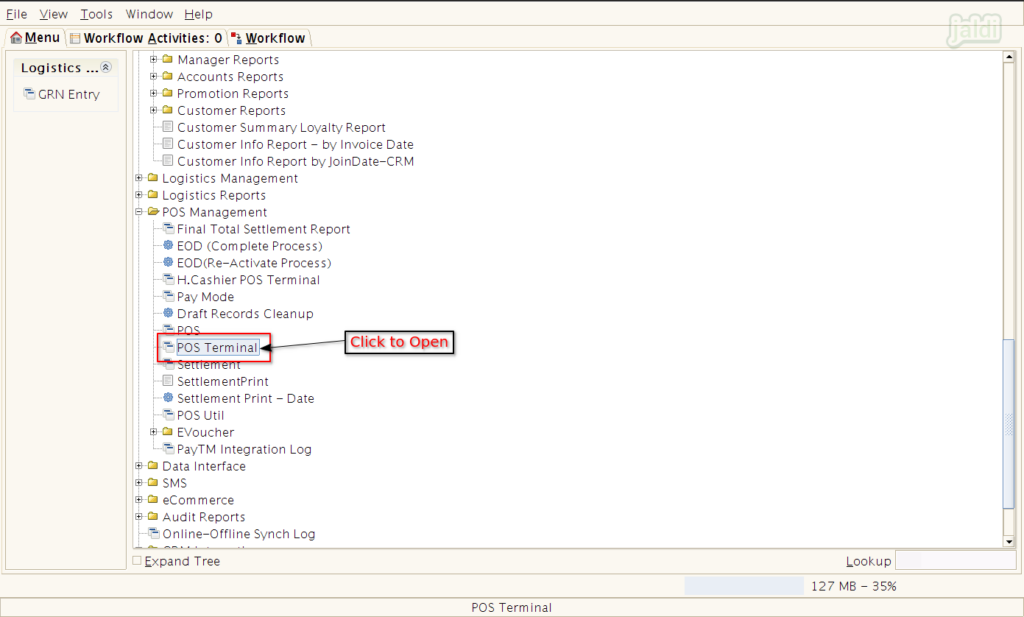
- Open POS-terminal menu
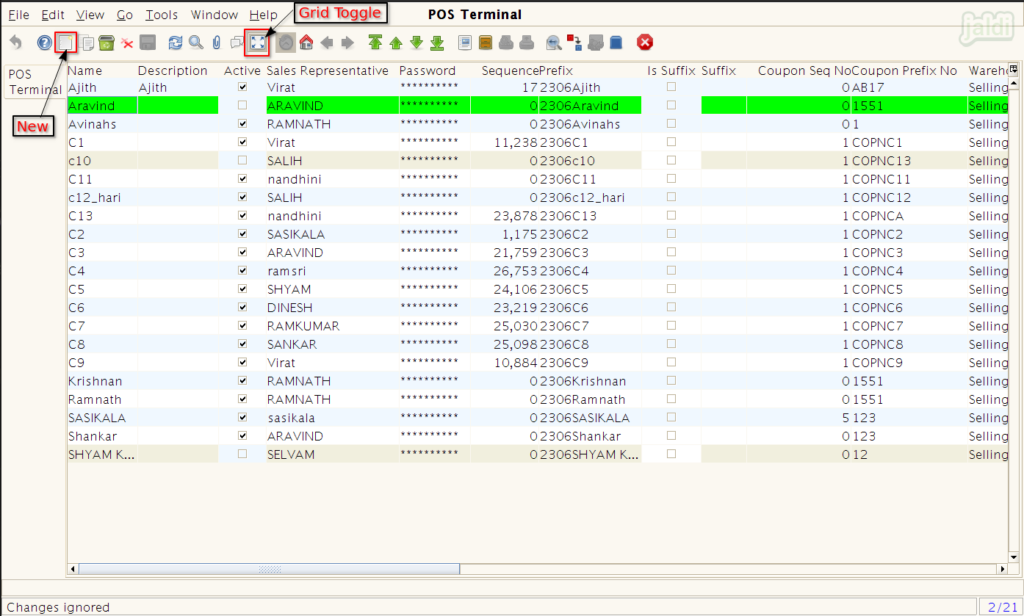
- Press “New” function key, press “Grid Toggle” to go detailed view from list view.
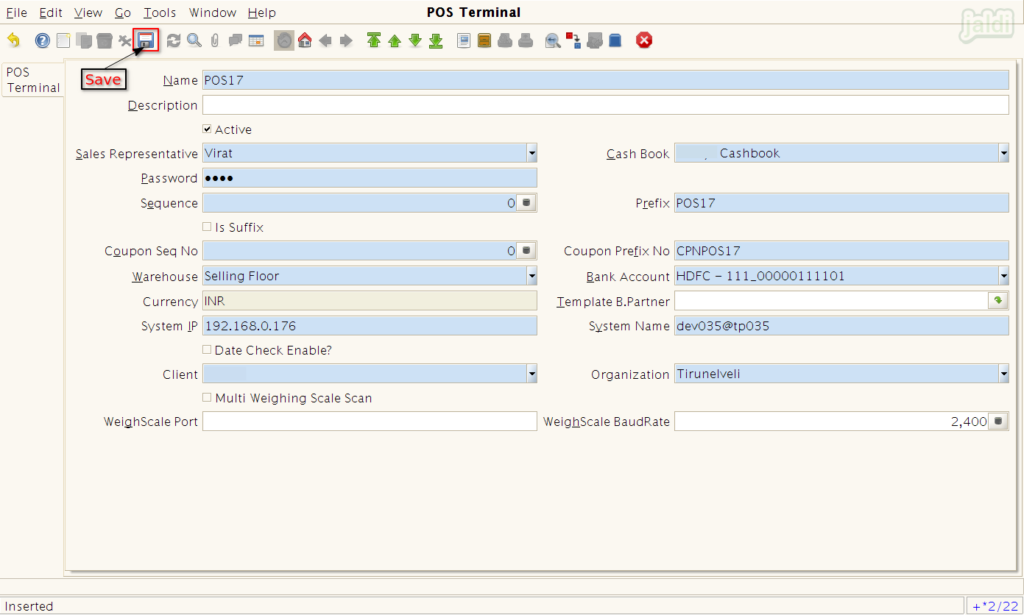
- In new POS terminal creation screen, Enter the fields which are highlighted in red colour, Those fields are mandatory fields.
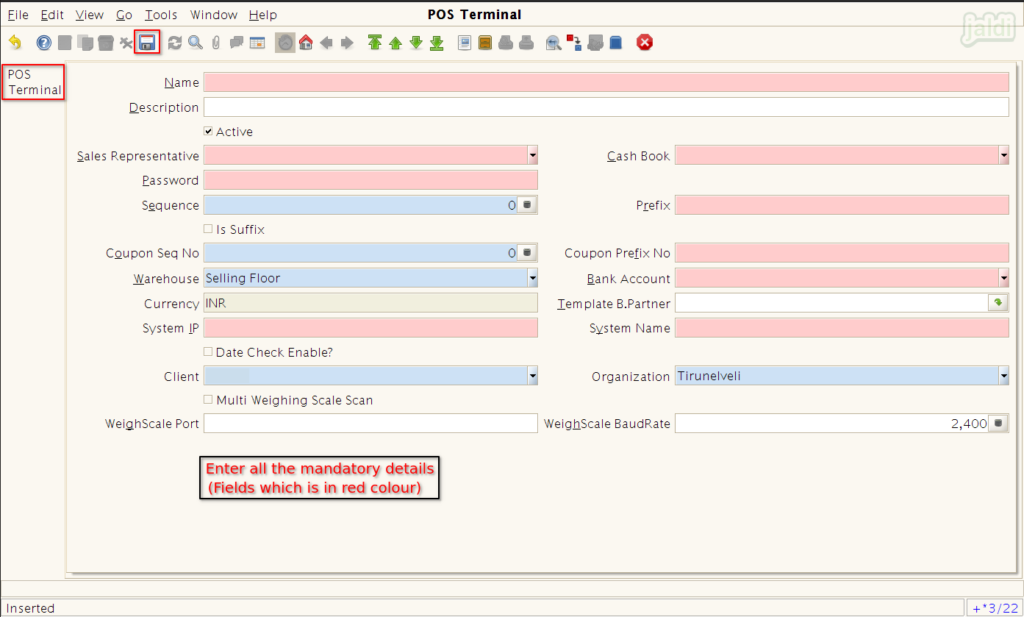
- Enter the following input data to save new POS terminal,
- Name – Enter POS terminal name
- Description – Enter POS terminal description
- Pword – Update terminal password
- Prefix – Enter terminal prefix to differentiate the bills from other terminals.
- Warehouse – Select the default location
- Bank-account – update bank name
- Template B.Partner – Select the Template B.Partner. Select “Standard” as by default.
- System IP – Update the counter system’s Ip address.
- System-name – update computer-name
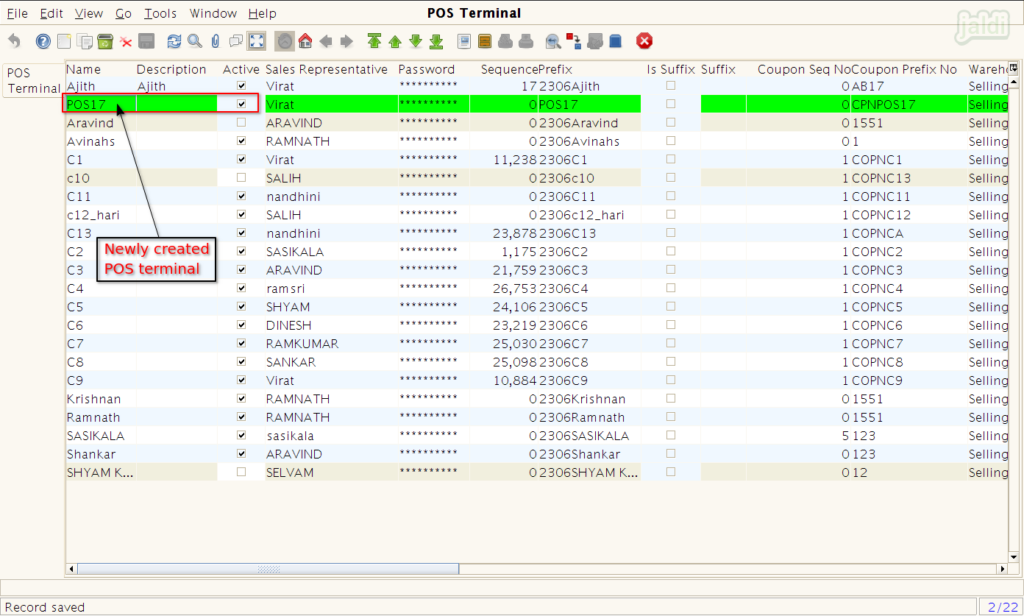
- Saved terminal will be uploaded in terminals list.
Deactivating and Edit created POS terminal ?
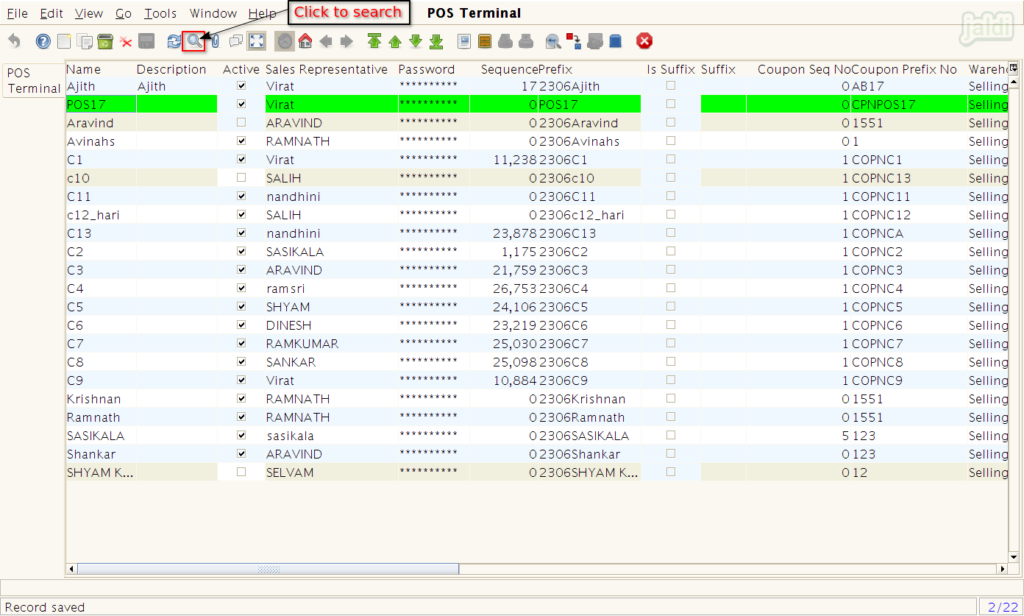
- Go to POS terminal screen, select specific POS terminal or press “Search” function key to look up the required POS terminal.
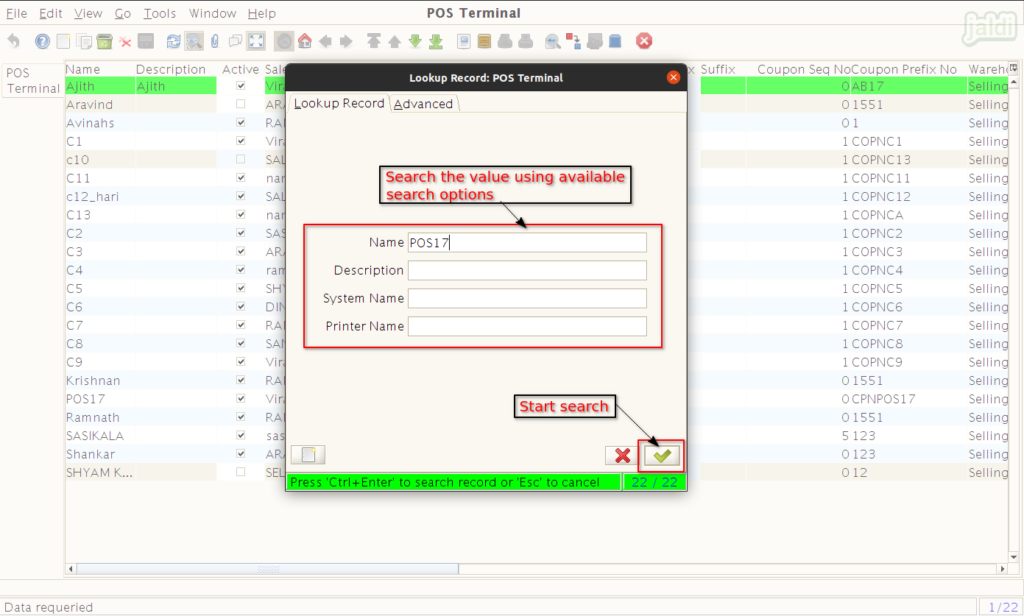
- In Search or lookup screen, user can find multiple available option to search specific POS terminal.
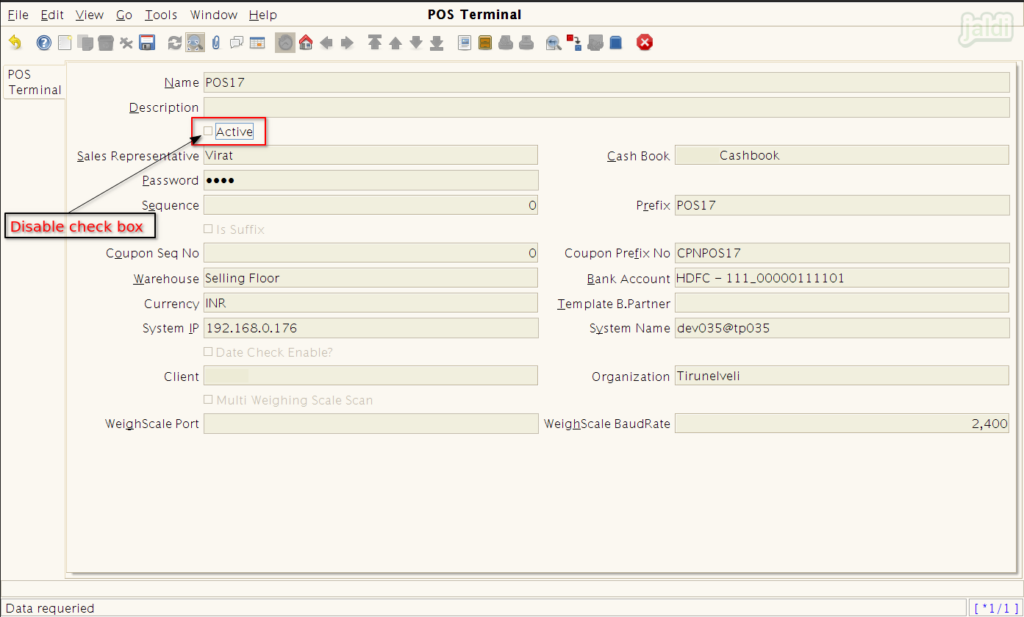
- Once the list of value is shown after search, select specific POS terminal and press “Grid toggle” function key to open the screen like below shown image.
- To edit the POS terminal,
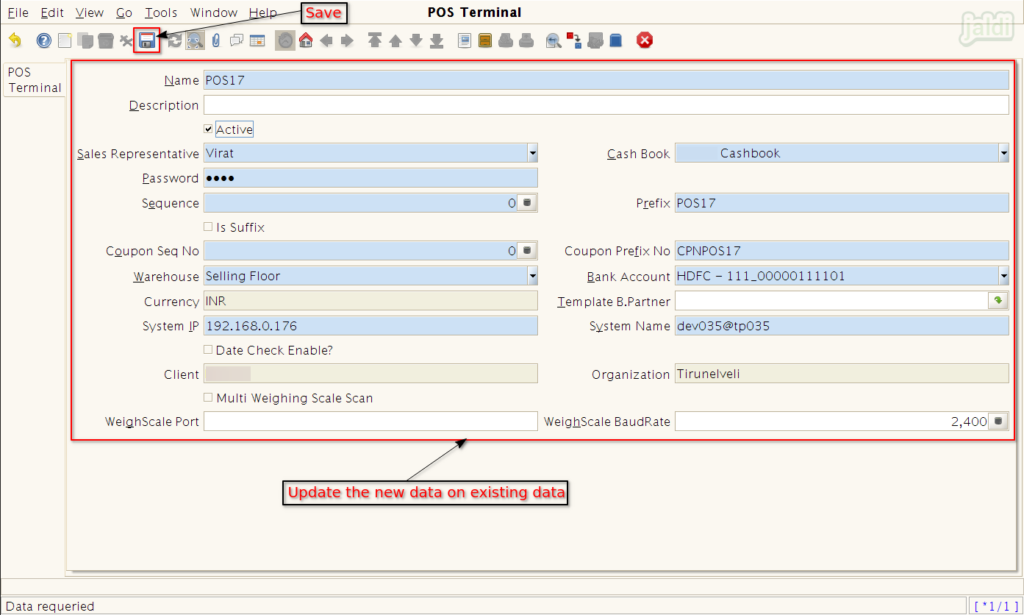
- To deactivate a POS terminal
